
To create Certificates of Completion for users who have successfully completed a course, go to Tools > Maintain Certificates of Completion in the Navigation Bar of the Administrator's Console.
The main screen will open, listing all existing certificates. To edit an existing certificate, select the title in this list and click the Edit button in the toolbar. To create a new certificate, click the New button in the toolbar. To Delete an existing certificate, click the Delete button.
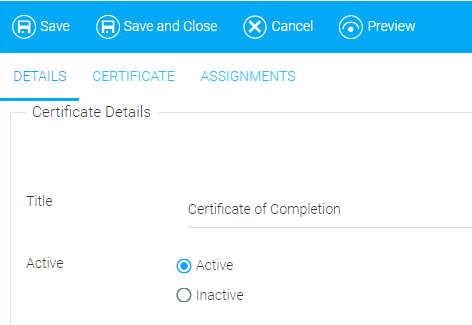
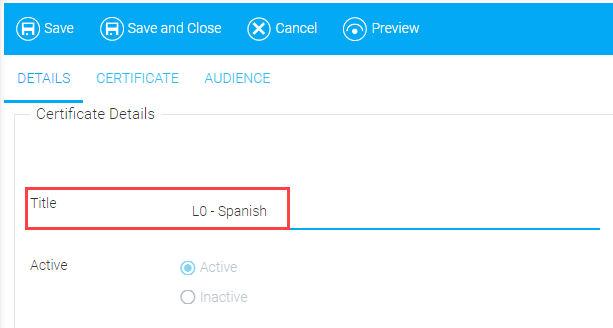
On the Details tab, add a title and select either the Active or Inactive radio button. If the certificate you are creating is not finished, you can select Inactive and save the certificate for later.
Once you are done, click the Certificate tab. Use the Rich Text Editing tools to create and format content for the Certificate.
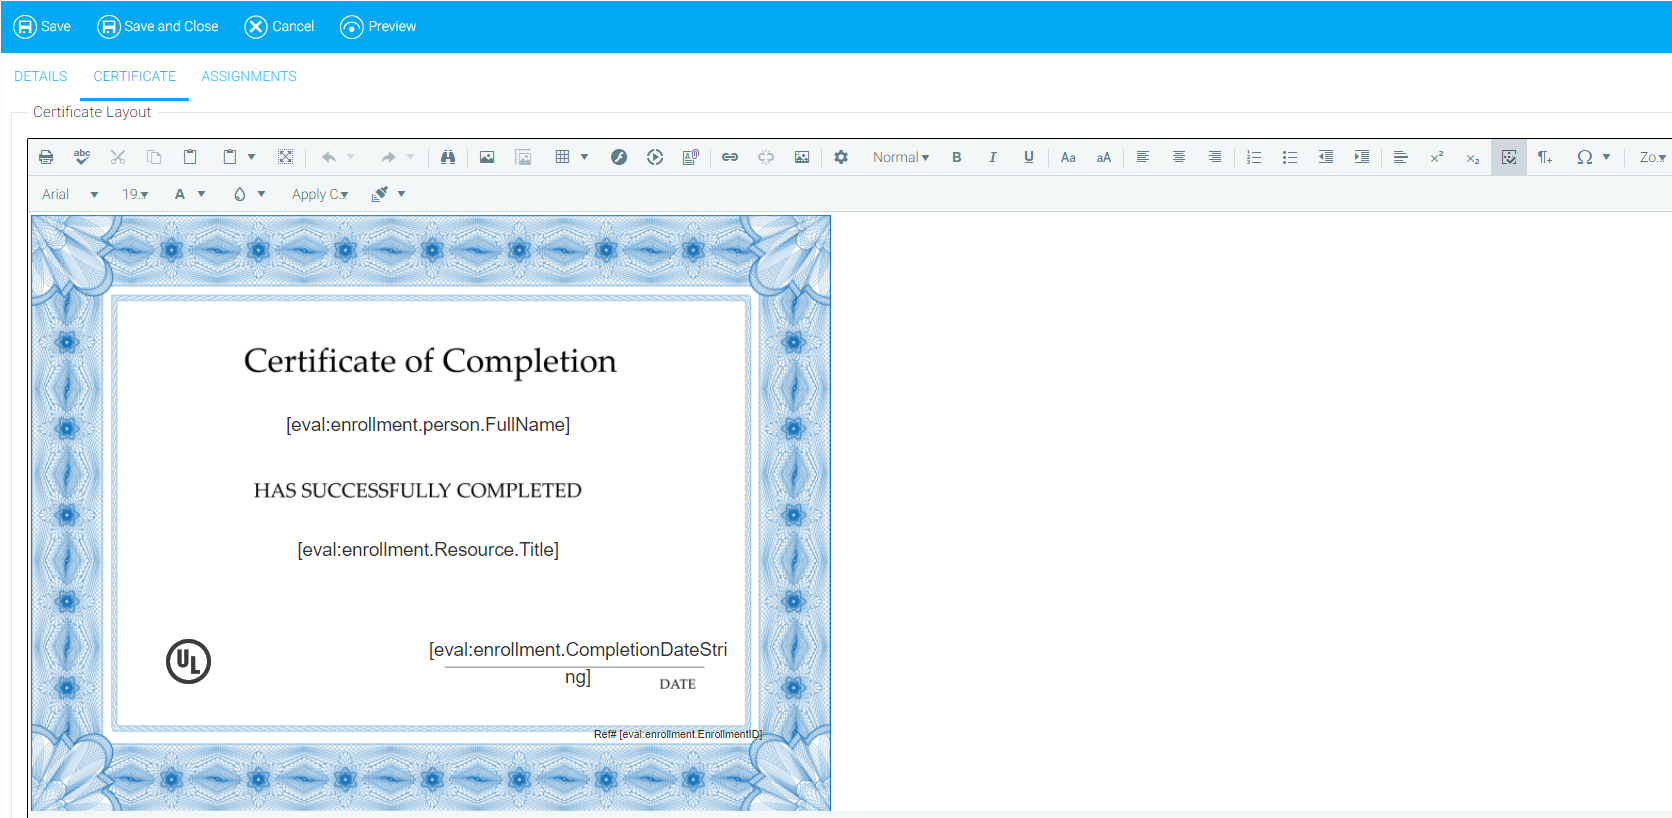
Use the Insert Objects button to add dynamic fields that will be automatically populated with the user's information.
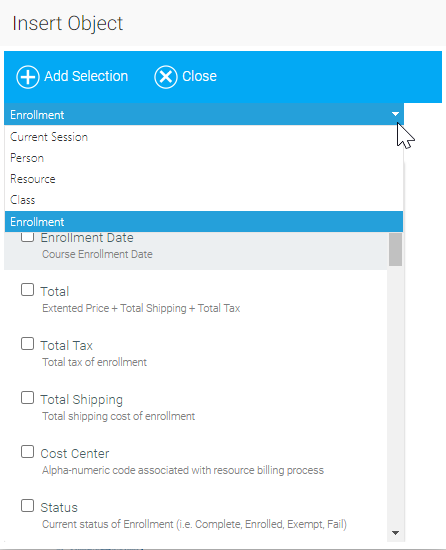
This will open the Insert Object pop-out box. Select a category from the drop-down menu, and select the fields you wish to insert. For certificates of completion, you should mostly use the selections from the Enrollment category so that values from the enrollment show properly on the certificate of completion. Click on the chosen field, then click the Add Selection button. Repeat until you are finished making selections. Your selections will appear in the Rich Text Editor at the point where your cursor was located.
You can also use the search box to locate objects. Begin typing in the search box and click on the box next to the desired object when it appears.
Common fields used in building certificates are First Name (User), Last Name (User), Course Name, Course Description, Venue, Instructor Name, Date of Completion, and CEU Credits.
When you are done, click the Assignments tab to assign resources to this certificate.
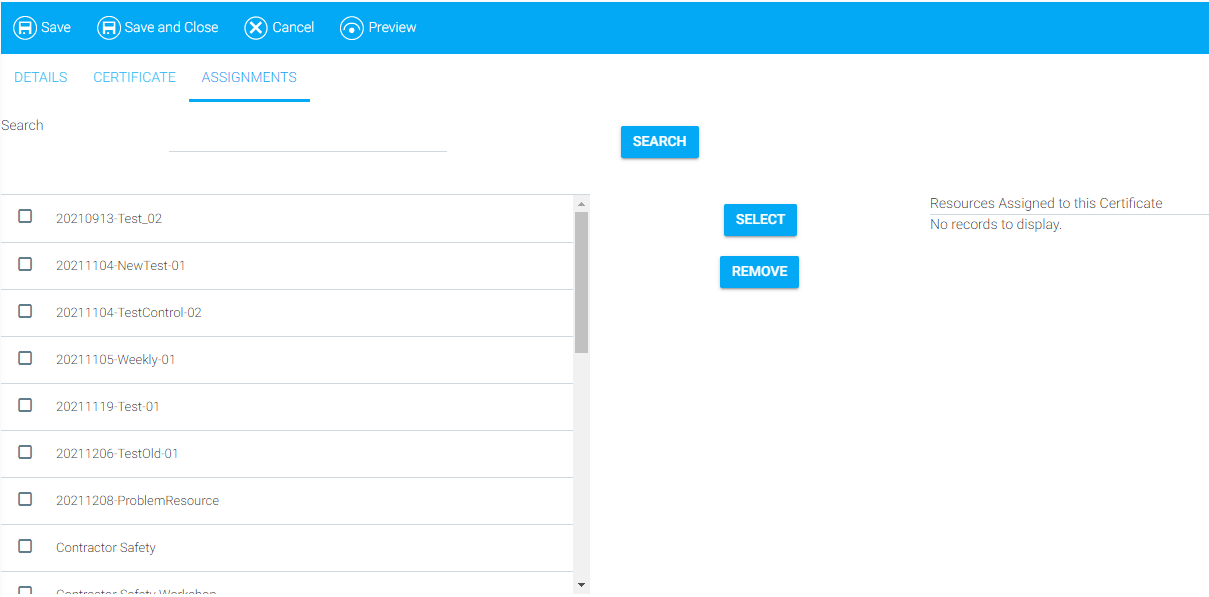
By default, all active resources appear in this list. You can narrow it down by typing a key word in the Search text box.
Select the resources to which you'd like this certificate to be attached, and click the Select button between the panels. The resource(s) you selected will appear in the Resources Assigned to this Certificate panel on the right side of the screen.
Click the Save button. Now you can assign this certificate to a resource via the Maintain Learning Resources screen's Details tab.
Users, once they have successfully completed the course, will be able to view their certificate of completion by clicking My Learning History on their home page, then clicking the View PDF link on the right side of the screen.
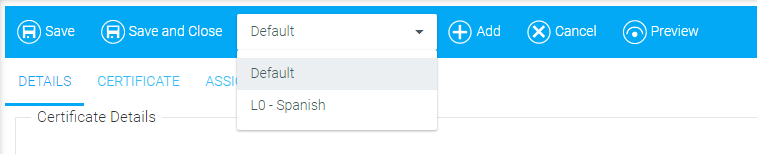
In the event that you need to create a copy of a certificate of completion in an additional language, open the certificate of completion and click the Add button in the top toolbar.

The screen will refresh and you will need to provide a title for the new version of the certificate of completion.
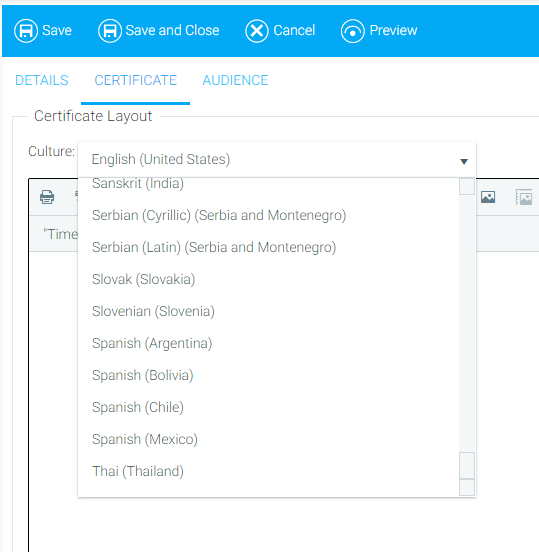
Next, click on the Certificate tab and change the Culture drop-down to reflect the new culture.
Use the Rich Text Editing tools to create and format content for the Certificate.
Click Save. You may receive a warning about making changes to resources. Click OK to continue.
Now you will see the new version of the certificate of completion in the drop-down menu.
This feature is opt-in only. To request that this be configured for your system, please contact the Support Team.